Receiving payments (Blockfrost API)
Welcome to the documentation of a Point of Sale (POS) application built using Cardano APIs. This guide will walk you through the key features and functionalities of the application.
Getting Started
In this tutorial, we will guide you through the process of building a fully functional Point of Sale application on top of the Cardano blockchain. To get started, you will need to fork the starting point repository, which contains all the necessary files and configurations to begin building your own Point of Sale application.
The starting point repository already provides simple CSS and logic behind inputs, props passing and other things, so in this guide, we will mostly focus on connecting APIs and retrieving data from them to create a fully functional Point of Sale application using Cardano.
Make sure to run the command npm install in your terminal to install all the necessary dependencies.
Use the command npm run dev and your project will be up and running.
Structure of the project
src
├── constants
├── components
├── pages
│   ├── api
|   └── index.js
├── styles
│   ├── pos.modules.css
├── .env.local
├── .env.example
├── README.md
Project structure rundown
/constants/- Contains various constant links and values that are used throughout application./components/- Contains various reusable components that can be used throughout application./pages/- Contains pages and APIs./styles/- Contains all of the styling files..env.local- Contains API keys..env.example- Contains example of how your API keys should be stored.
Requirements
We'll need to obtain API keys for both services. These API keys will allow us to access the data and functionality we need to build and test our application.
Please refer to .env.example in the repo and create .env.local file. Your keys should be stored there.
Get Blockfrost Key
- Please follow Get Started with Blockfrost to obtain Blockfrost API key
- In the code, go to environment file
.env.localand put the key intoBLOCKFROST_API_KEY.
Get CoinMarketCap Key
- Go to CoinMarketCap and sign in to your account.
- Once you're signed in, navigate to your dashboard.
- Copy API Key.
- In the code, go to environment file
.env.localand put the key intoCOINMARKETCAP_API_KEY.
Adding Constants
Before creating any API requests, it is important to add constants such as base URLs and endpoints. These constants will be used throughout the project and will make it easier to make changes or updates in the future.
Navigate to constants folder, create links.js file and insert the following based on network you will be using:
- Preview
- Pre-Production
- Mainnet
export const LINKS = {
  CARDANO_SCAN: "https://preview.cardanoscan.io/address/",
  BLOCKFROST_ADDRESS: "https://cardano-preview.blockfrost.io/api/v0/addresses/",
  COINMARKETCAP_ADA_USD_PAIR:
    "https://pro-api.coinmarketcap.com/v1/cryptocurrency/quotes/latest?symbol=ADA&convert=USD",
};
export const LINKS = {
  CARDANO_SCAN: "https://preprod.cardanoscan.io/address/",
  BLOCKFROST_ADDRESS: "https://cardano-preprod.blockfrost.io/api/v0/addresses/",
  COINMARKETCAP_ADA_USD_PAIR:
    "https://pro-api.coinmarketcap.com/v1/cryptocurrency/quotes/latest?symbol=ADA&convert=USD",
};
export const LINKS = {
  CARDANO_SCAN: "https://cardanoscan.io/address/",
  BLOCKFROST_ADDRESS: "https://cardano-mainnet.blockfrost.io/api/v0/addresses/",
  COINMARKETCAP_ADA_USD_PAIR:
    "https://pro-api.coinmarketcap.com/v1/cryptocurrency/quotes/latest?symbol=ADA&convert=USD",
};
Creating API files
In api folder create blockfrost.js file and insert the following code:
import { LINKS } from "../../constants/links";

export default async function handler(req, res) {
  const { address } = req.query;
  const projectId = process.env.BLOCKFROST_API_KEY;
  const url = LINKS.BLOCKFROST_ADDRESS + address + "/total";

  const response = await fetch(url, {
    headers: {
      "Content-Type": "application/json",
      project_id: projectId,
    },
  });

  const data = await response.json();

  res.status(200).json({ value: data });
}
In this file, we are creating an API request to Blockfrost using personal key. We use constant link address and submit projectId to get a data response.
Now let’s do the same with CoinMarketCap. Add coinmarketcap.js file into api folder to receive pair data:
import { LINKS } from "../../constants/links";

export default async function handler(req, res) {
  const url = LINKS.COINMARKETCAP_ADA_USD_PAIR;

  const response = await fetch(url, {
    headers: {
      "X-CMC_PRO_API_KEY": process.env.COINMARKETCAP_API_KEY,
    },
  });

  const data = await response.json();
  const adaPrice = data.data.ADA.quote.USD.price;

  res.status(200).json({ value: adaPrice });
}
In this file, we are creating another API request to CoinMarketCap to receive price of 1 ada in USD.
Connecting APIs
Now that all of the APIs are set up and ready to be used, it's time to move onto the index.js file and start adding the necessary functionalities and API requests.
To fetch the ada-usd price upon loading the page, we need to add the fetchAdaPrice and useEffect functions to the index.js file:
  // Fetch ada price from CoinMarketCap
  const fetchAdaPrice = async () => {
    fetch("/api/coinmarketcap")
      .then((response) => {
        if (!response.ok) {
          throw new Error("Network response was not ok");
        }
        return response.json();
      })
      .then((data) => setAdaValue(data.value))
      .catch((error) => console.error("Error:", error));
  };

  useEffect(() => {
    const fetchPrice = async () => {
      await fetchAdaPrice();
    };
    fetchPrice();
  }, []);
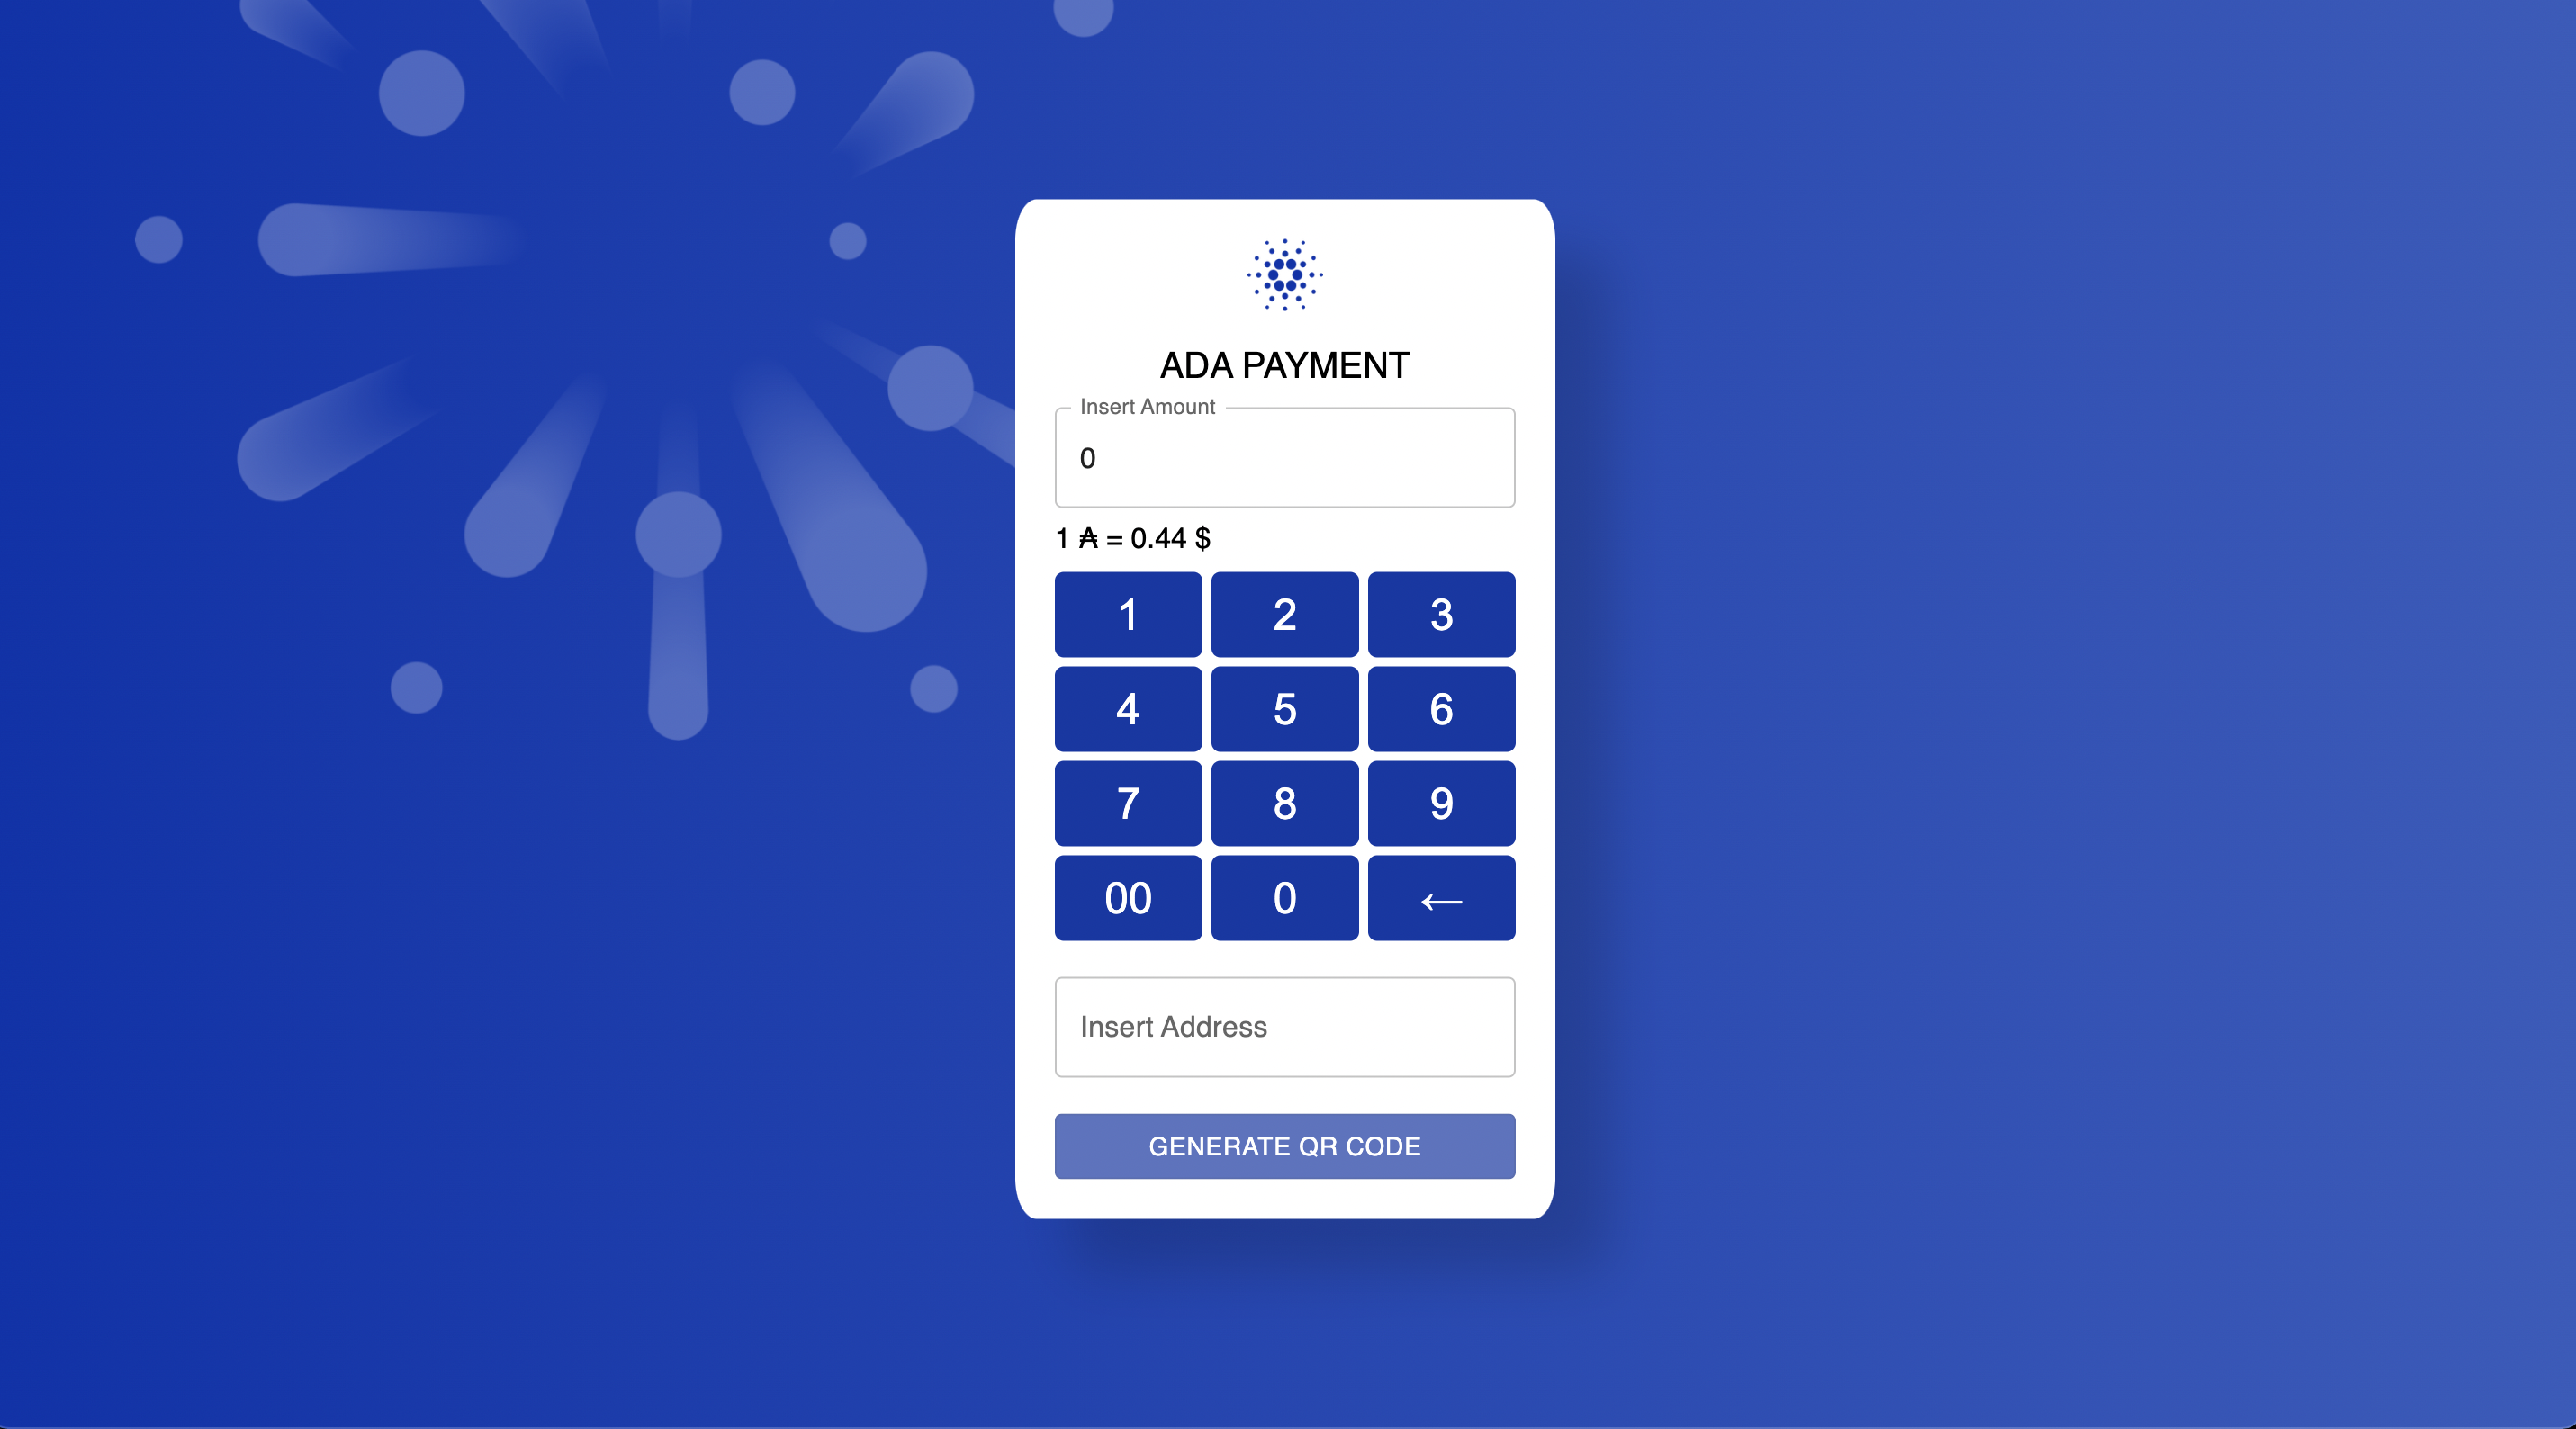
This code will make an API request to retrieve the current price and display it on the page for the user to see. The fetchAdaPrice function will perform an API request to CoinMarketCap and set the adaValue state with the current value. Later on, in the return statement, the calculated value based on the input amount will be displayed as:
{amount} $ = {(amount / adaValue).toFixed(2)} ₳
Connecting Blockfrost API to Popup
Next, we will add some Blockfrost API requests to the popup to compare the inserted address balance and see if the transaction went through successfully.
Navigate to components folder into popup.js. The current popup generates a QR code for users to scan, which redirects with a CIP-13 URI guidelines and automatically fills in the details for the transaction, such as the address and the amount to be sent. For now, the application does not connect to the API, so we need to add a few functions to ensure application able to retrieve the necessary data from the API.
First, lets add fetchAddressQuantityOnOpen function to fetch balance of the address:
  // Fetch balance of ada in the address when opening popup
  const fetchAddressQuantityOnOpen = async () => {
    address.length &&
      fetch(`/api/blockfrost?address=${address}`)
        .then((response) => {
          if (!response.ok) {
            throw new Error("Network response was not ok");
          }
          return response.json();
        })
        .then((data) => {
          if (data.value.received_sum) {
            setBalance(data.value.received_sum[0].quantity / 1000000);
          }
        })
        .catch((error) => console.error("Error:", error));
  };
This function will store current balance in the store called balance.
Now let’s create another function called CompareQuantity that fetches address balance but checks it every few seconds:
  // Fetch balance of ada in the address every few seconds to compare it with the initial balance from fetchAddressQuantityOnOpen()
  const CompareQuantity = async () => {
    fetch(`/api/blockfrost?address=${address}`)
      .then((response) => {
        if (!response.ok) {
          throw new Error("Network response was not ok");
        }
        return response.json();
      })
      .then((data) => {
        if (data.value.received_sum) {
          setNewBalance(data.value.received_sum[0].quantity / 1000000);
        }
      })
      .catch((error) => console.error("Error:", error));
  };

  // Fetch ada balance every 3 seconds
  useEffect(() => {
    address && fetchAddressQuantityOnOpen(address);
    const interval =
      address &&
      setInterval(() => {
        const result = CompareQuantity(address);
        return result;
      }, 3000);
    return () => clearInterval(interval);
  }, [address]);
This function will store new balance in the store called newBalance state and using useEffect will continue fetching data every few seconds.
Later on in the code, we compare balance and newBalance states. If newBalance is greater or equal by the amount requested, the Waiting for payment… will be changed to Payment received successfully
Here it how it looks:
  {newBalance - balance >= amount ? (
    <DialogContentText className={styles.approvedConfirmation}>
      Payment received successfully
    </DialogContentText>
  ) : (
    <DialogContentText className={styles.waitingConfirmation}>
      Waiting for payment...
    </DialogContentText>
  )}
Adding CardanoScan Redirect
To add a redirect to CardanoScan in the href attribute of our popup component, we need to add the following code into our application.
import { LINKS } from "../constants/links";
Locate into return section and uncomment the following section:
    <a
      className={styles.href}
      // href={LINKS.CARDANO_SCAN + address}
      target="_blank"
    >
      {address.substring(0, 30) + "..."}
    </a>
Congratulations! Your Point of Sale application using Cardano is now fully functional and ready to use. You can test it by entering an amount and address into the inputs, scanning the generated QR code, performing a transaction and waiting for confirmation on the popup screen.