Listening for ada payments
Detecting incoming payments is a core need for shops, payment gateways, donations, subscriptions, ticketing, and vending or IoT machines: you need to know reliably when ada arrives at an address.
How it works
Every method follows the same loop:
- Generate a payment address for the order (often shown as a CIP-13 QR code).
- Display it to the customer.
- Poll the address for incoming transactions.
- Compare the received amount against what you expect.
- Fulfill once the payment confirms.
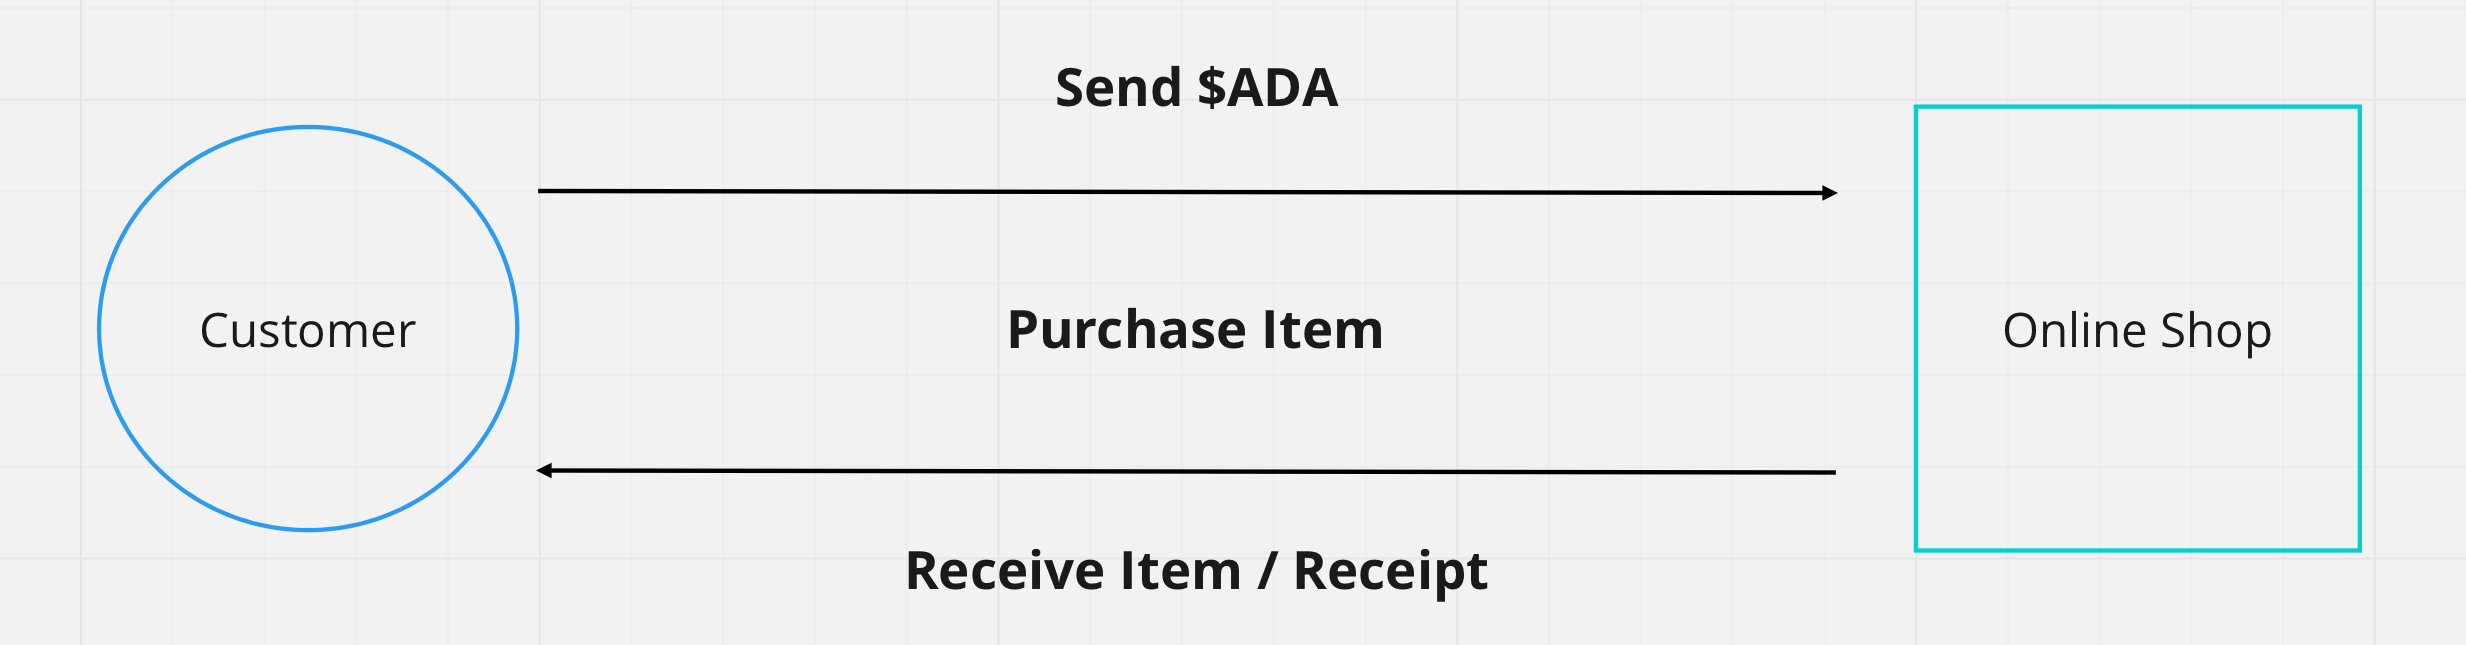
The only thing that differs between methods is how you read the chain: a hosted API, your own node via cardano-cli, or a cardano-wallet service. Start with Blockfrost unless you already run your own infrastructure.
Cardano's read APIs don't push events, so every method here polls on an interval. In production you can replace the loop two ways: with a provider webhook (for example Blockfrost webhooks) that calls your backend when a matching transaction lands, or with an event-stream indexer you run yourself, which tails the chain and forwards matching transactions with no third party in the path.
Detecting a payment
Generate a fresh payment address per order, then poll it: read the address's UTXOs, sum the lovelace, and compare to what you expect. The same loop works through either SDK's provider, or with cardano-cli against your own node.
- Evolution
- Mesh
- cardano-cli
import { Address, Client, preprod } from "@evolution-sdk/evolution"

const client = Client.make(preprod).withBlockfrost({
  baseUrl: "https://cardano-preprod.blockfrost.io/api/v0",
  projectId: process.env.BLOCKFROST_API_KEY!,
})
const expectedLovelace = 1_000_000n

async function receivedLovelace(address: string) {
  const utxos = await client.getUtxos(Address.fromBech32(address))
  return utxos.reduce((sum, utxo) => sum + (utxo.assets.lovelace ?? 0n), 0n)
}

// poll every few seconds until paid
const timer = setInterval(async () => {
  if ((await receivedLovelace(address)) >= expectedLovelace) {
    clearInterval(timer)
    // payment confirmed: fulfill the order
  }
}, 3000)
import { BlockfrostProvider } from "@meshsdk/core"

const provider = new BlockfrostProvider(process.env.BLOCKFROST_API_KEY!)
const expectedLovelace = 1_000_000n

async function receivedLovelace(address: string) {
  const utxos = await provider.fetchAddressUTxOs(address)
  return utxos.reduce((sum, u) => {
    const lovelace = u.output.amount.find((a) => a.unit === "lovelace")?.quantity ?? "0"
    return sum + BigInt(lovelace)
  }, 0n)
}

const timer = setInterval(async () => {
  if ((await receivedLovelace(address)) >= expectedLovelace) {
    clearInterval(timer)
    // payment confirmed: fulfill the order
  }
}, 3000)
If you run your own node, query the address UTXOs directly and sum their lovelace, no third-party API involved:
cardano-cli query utxo --address "$(cat payment.addr)" --testnet-magic 1 --output-json
import { execSync } from "node:child_process"

const expectedLovelace = 1_000_000n

function receivedLovelace(addr) {
  const out = execSync(`cardano-cli query utxo --address ${addr} --testnet-magic 1 --output-json`)
  const utxos = JSON.parse(out.toString())
  return Object.values(utxos).reduce((sum, u) => sum + BigInt(u.value.lovelace), 0n)
}
// poll receivedLovelace(addr) on an interval and compare to expectedLovelace
For a complete point-of-sale app with a React UI, QR codes, and live USD/ADA conversion, fork the Cardano POS starter.
A transaction in a recent block can still be rolled back. Cardano produces a block roughly every 20 seconds, so for anything valuable, wait 10-20 blocks (a few minutes) before treating a payment as final; the larger the amount, the deeper you should wait. Track deposits by transaction id and credit each one exactly once, only after your chosen depth, so a rollback that replays the same transaction cannot double-credit.
Requesting a payment
Detection is the receiver's half. The sender's half is requesting the payment: from your dApp, the user's connected wallet builds a transfer to your address, signs it, and submits it. Together they close the loop, the user pays and you detect it.
The simplest case is a plain transfer, where the user pays out of their own wallet with no app key or logic involved. Once they have connected a wallet, a "pay" button builds a single payToAddress, the wallet prompts for a signature, and you submit:
- Evolution
- Mesh
import { Assets, Client, preprod } from "@evolution-sdk/evolution"

// walletApi = await window.cardano.<name>.enable() from connecting the wallet
declare const walletApi: any

// A Signing Client: a provider for params + submission, the connected wallet for signing
const client = Client.make(preprod)
  .withBlockfrost({ baseUrl: "https://cardano-preprod.blockfrost.io/api/v0", projectId: process.env.BLOCKFROST_API_KEY! })
  .withCip30(walletApi)

const tx = await client
  .newTx()
  .payToAddress({ address: "addr_test1...", assets: Assets.fromLovelace(10_000_000n) })  // pay 10 ADA
  .build()
const txHash = await (await tx.sign()).submit()   // wallet prompts the user, then submit
import { useWallet } from "@meshsdk/react"
import { MeshTxBuilder } from "@meshsdk/core"

function PayButton({ recipient, lovelace }) {
  const { wallet, connected } = useWallet()

  async function pay() {
    const unsignedTx = await new MeshTxBuilder()
      .txOut(recipient, [{ unit: "lovelace", quantity: lovelace }])
      .changeAddress(await wallet.getChangeAddress())   // browser wallet: bech32 string
      .selectUtxosFrom(await wallet.getUtxos())          // browser wallet: UTxO list
      .complete()
    const signedTx = await wallet.signTx(unsignedTx)     // wallet prompts the user
    await wallet.submitTx(signedTx)                       // submits through the wallet, no API key
  }

  return <button onClick={pay} disabled={!connected}>Pay {Number(lovelace) / 1_000_000} ADA</button>
}
Show the amount and recipient before prompting, and handle the wallet's rejection and loading states. Two things decide where the build belongs:
- Provider keys. The Evolution flow submits through a provider, so its key lives wherever the client runs; in the browser that key is exposed. Mesh's browser wallet submits through the wallet itself, so a plain transfer needs no key client-side. For anything beyond a trivial transfer, prefer building server-side.
- App-controlled transactions. The moment your app contributes its own inputs, a minting policy, or a co-signature, the build moves to the backend and the user only partial-signs. That is the sponsored and multi-party pattern, and the reason connecting a wallet recommends the frontend only sign.
As a URI or QR code (CIP-13)
The connected-wallet path assumes the payer is already in your dApp with a browser wallet. The other way to request a payment needs no connection at all: encode the request as a CIP-13 web+cardano: URI, a link or QR code the payer opens or scans with a compatible mobile wallet, which opens pre-filled with your address and the amount for them to confirm and sign. This is the phone-first case with no dApp connector involved: a point-of-sale terminal, a code shown on a screen or printed on an invoice, a donation link.
The format is web+cardano:{address}?amount={ada}, with the amount in decimal ada. Treat it as send-side convenience only. Wallet support for the amount varies, so it may or may not arrive pre-filled, and nothing tells you the payer scanned the code or what they will actually send. The URI improves the payer's experience but is never the source of truth: you still confirm exactly as above, by polling the address for the lovelace you expect. To match a specific incoming payment to a specific request when you can't attach a memo, make the requested amount unique per request; a follow-up proposal (CIP-157) adds a proper payment identifier to the URI, so check its status and wallet support before relying on it.
For a full device-hosted build of this, a QR payment terminal running on hardware, see IoT Workshop 05: CIP-13 Integration.
Use cases
E-commerce checkout, payment gateways, donation platforms, subscription billing, event ticketing, in-app purchases, and vending or IoT machines: anywhere you fulfill something only after ada arrives.
Next steps
- Sponsored transactions: multi-party transactions where someone else covers the fee
- Ship to Production: take the app from testnet to mainnet